


Views: 0 Author: Site Editor Publish Time: 2026-08-10 Origin: Site


Suspension wear is an unavoidable operational reality for modern vehicles. Control arms handle continuous dynamic loading, acting as the primary structural bridge between the chassis and the wheel hub. Chery owners face a specific diagnostic challenge when front-end noise begins. You have to differentiate between a failing ball joint, torn control arm bushings, or unrelated faults like worn strut mounts. Delaying this diagnosis introduces severe safety risks, including complete loss of steering control if a joint separates at speed. This guide serves as a technical evaluation for sourcing and replacing a Control Arm for Chery. We will break down component specifications, labor expectations, and the exact sourcing strategies needed to restore factory handling without unnecessary shop delays.
The metal structure of a control arm rarely fails independently. Stamped steel or cast aluminum arms only bend or crack under severe impact, such as hitting a deep pothole at highway speeds or striking a curb. The true failure points are the wearable components pressed into the metal housing. Rubber or polyurethane bushings absorb chassis vibrations and allow the arm to pivot. Steel ball joints serve as the articulation point for the steering knuckle. These elements degrade through constant friction, thermal cycling, and environmental exposure to road salt and debris.
Visual inspection is your first diagnostic step in the shop. Elevate the vehicle on a two-post lift and examine the suspension with a strong flashlight. Look for deep cracks, dry rot, or complete tears in the bushing rubber. If the vehicle uses fluid-filled hydro-bushings, check for dark fluid streaks leaking down the subframe around the mounting points. Next, inspect the ball joint dust boot. A torn boot allows the factory grease to escape and abrasive road grit to enter. This rapidly destroys the internal ball and socket mechanism, leading to excessive play.
To physically test the components, use a pry bar. Insert the pry bar between the control arm and the subframe near the bushing. Apply leverage to check for excessive deflection. A healthy bushing will yield slightly and spring back. A torn bushing will allow the arm to clunk against the metal subframe. For the ball joint, grip the tire at the 12 and 6 o'clock positions while the vehicle is in the air and rock it back and forth. Any clicking or movement indicates internal wear.
Suspension wear produces distinct drivability symptoms that translate directly through the steering column and chassis. Pay attention to the mechanical feedback your vehicle provides. High-pitched squeaking over speed bumps indicates dry, torn bushings rubbing against their metal outer shells. A heavy clunking noise during low-speed maneuvers or when shifting from drive to reverse points to excessive ball joint play or a completely separated bushing sleeve. You may also experience steering wheel vibration at highway speeds, which is often misdiagnosed as an unbalanced tire.
Unpredictable steering wander during hard braking is another strong indicator of compromised control arm geometry. When you apply the brakes, the vehicle's weight transfers forward. If the lower control arm bushings are weak, the entire wheel assembly shifts backward under the load, causing the vehicle to pull sharply to one side.
The safety implications vary based on the specific failure point. Degraded bushings cause gradual tire wear and sloppy handling, which is manageable in the short term but ruins expensive tires. A failing ball joint presents an immediate hazard. If a ball joint separates from the socket while driving, the wheel hub detaches from the lower control arm. The wheel will fold outward, crushing the fender and resulting in a catastrophic suspension collapse. Addressing these symptoms early prevents dangerous driving conditions and secondary damage to the CV axles and tie rods.
| Symptom | Likely Component Failure | Diagnostic Action |
|---|---|---|
| High-pitched squeak over bumps | Dry or torn rubber bushings | Visual inspection for cracked rubber; pry bar test for deflection. |
| Heavy clunk when shifting D to R | Severely worn ball joint or torn bushing sleeve | Check ball joint boot for tears; test wheel for 12/6 o'clock play. |
| Steering wander under hard braking | Lower control arm rear position bushing failure | Inspect rearward bushing for fluid leaks or complete separation. |
| Vibration at highway speeds | Worn ball joint or compromised bushing geometry | Rule out wheel balance, then check lower ball joint for vertical play. |
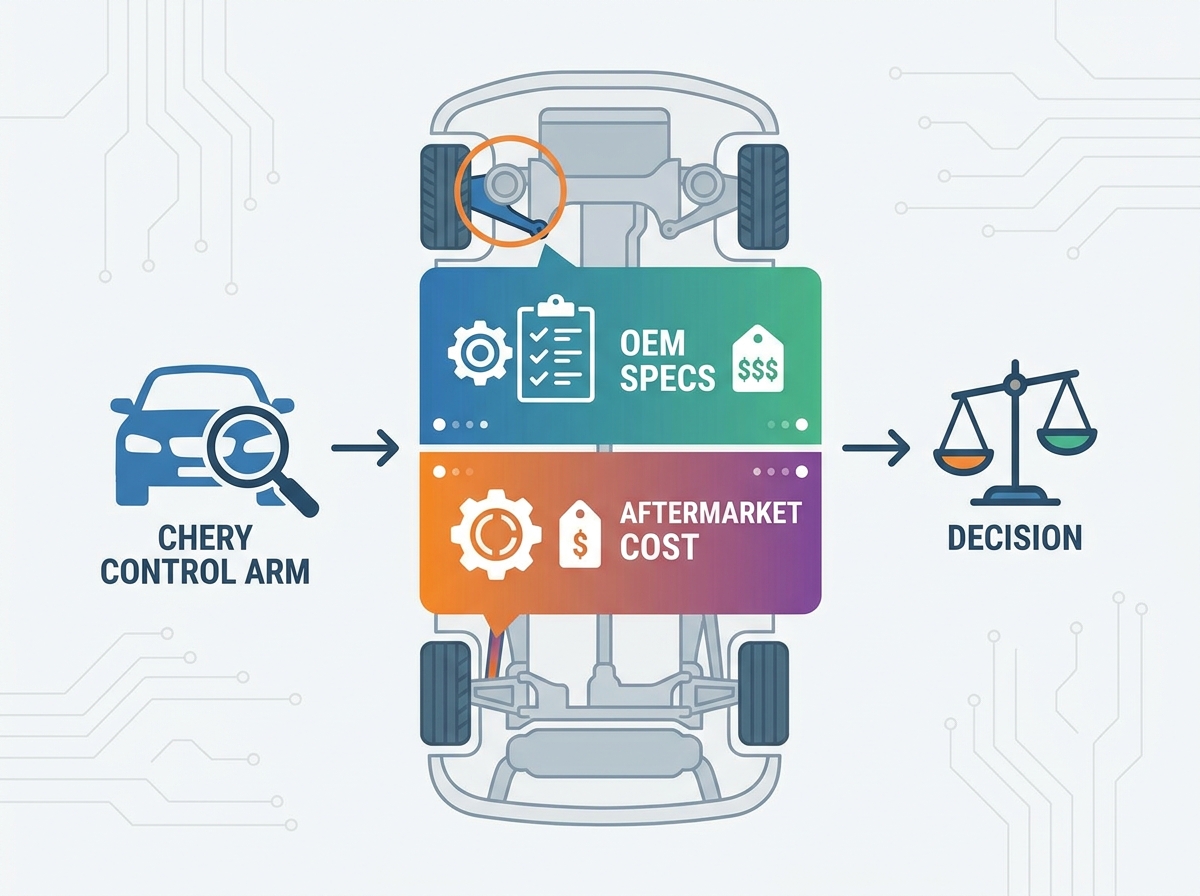
Chery utilizes different suspension configurations across its lineup, dictating the complexity of the repair. Entry-level models like the Arrizo sedans typically feature a MacPherson strut front suspension. This design relies on a single lower control arm per side, usually an A-arm or L-arm shape. It connects the subframe to the lower steering knuckle. It is efficient, lightweight, and straightforward to service. The strut assembly handles the upper locating duties, meaning there is no upper control arm to replace.
Premium SUVs, such as the Tiggo 8 Pro, often employ complex multi-link rear suspension systems to improve ride quality and handling dynamics. A multi-link setup uses several independent arms to control wheel movement across different axes. You will find upper camber arms, lower spring buckets, trailing arms, and lateral toe links. Diagnosing a clunk in a multi-link system requires isolating the specific worn arm among multiple pivot points. Replacing components in these systems demands more labor, specialized tools to navigate tight subframe clearances, and highly precise alignment procedures.
Material selection affects both performance and durability on the road. Chery platforms utilize different materials based on vehicle weight, intended use, and manufacturing efficiency. Entry-level sedans often use stamped steel control arms. Steel is highly durable and handles rough road conditions well. When subjected to a severe impact, stamped steel tends to bend rather than shatter. This bending alters the alignment but usually keeps the wheel attached to the vehicle, allowing for a controlled stop.
Heavier, high-trim SUVs frequently utilize cast aluminum or forged steel components. Aluminum significantly reduces unsprung weight at the corners of the vehicle. Lower unsprung weight improves suspension responsiveness, allowing the shock absorbers to react faster to road imperfections, which enhances ride comfort. However, cast aluminum is more brittle than stamped steel. It can crack or snap under severe stress or heavy impacts. Understanding the material helps you choose the correct replacement part and dictates the handling characteristics of the vehicle.
You face a distinct choice when replacing a worn control arm. You can buy a bare metal arm and press in new bushings and ball joints manually. Alternatively, you can purchase a fully pre-assembled unit. Pressing components requires a 20-ton hydraulic shop press and a master set of receiver tubes. It is labor-intensive, dangerous if the press slips, and increases the time your vehicle spends occupying a lift in the shop.
Pre-assembled units are the industry standard for Chery replacements. They arrive in the box with factory-fresh bushings and ball joints already seated to exact tolerances. This approach drastically reduces billed labor hours. It also eliminates the risk of damaging the new metal arm or tearing the new bushing sleeve during a clumsy pressing process. The overall efficiency and reliability make pre-assembled units the superior choice for both DIY mechanics and professional technicians.
Automakers frequently update suspension geometry to address handling quirks or premature wear issues discovered after the initial vehicle launch. Mid-cycle refreshes can introduce subtle changes to control arm dimensions, bushing durometer, or ball joint stud taper. Always verify compatibility before purchasing parts. Check the OEM part numbers against your specific vehicle identification number (VIN) using a reliable parts catalog.
Do not assume a part fits simply because it matches the model year. Chery may use different suspension setups depending on the trim level, engine configuration, or whether the vehicle is front-wheel drive or all-wheel drive. Cross-referencing ensures you receive a component with the correct mounting points, sway bar end link brackets, and bushing stiffness.
Sourcing replacement parts involves navigating different quality tiers in the aftermarket and dealer networks. Standard aftermarket replacements serve entry-level sedans adequately. These parts offer basic functionality, restore standard handling, and are readily available at local auto parts stores. Genuine OEM parts provide exact factory specifications. They ensure the original ride comfort, noise isolation, and predictable longevity that the engineers intended.
Specialty or heavy-duty assemblies are required for premium SUV lines. Multi-link upper and lower arms involve more complex manufacturing processes. Upgraded aftermarket options might feature polyurethane bushings for stiffer handling or greaseable ball joints with zerk fittings for extended service life. Select the tier that matches your driving requirements, expected vehicle lifespan, and performance expectations.
Labor times vary heavily based on suspension design and regional shop rates. Replacing a front lower control arm on a standard MacPherson setup is relatively quick. A technician removes the wheel, disconnects the ball joint pinch bolt, removes the two subframe bolts, and swaps the arm. The standard flat-rate manual time is typically lower for this procedure.
Rear multi-link systems present severe accessibility challenges. Technicians must navigate exhaust routing, EVAP canisters, and drivetrain components to access the inner mounting bolts. Billed hours increase with this complexity. Independent repair shops and dealership service centers utilize different labor rates. Dealerships possess specialized diagnostic tools and factory training specific to Chery models. Independent shops often provide more flexible scheduling. Factor the required labor hours and shop expertise into your total repair strategy.
Replacing a structural suspension component alters wheel geometry. You must perform a four-wheel alignment after installing a new control arm. This is a non-negotiable requirement. Even if the new arm is manufactured to exact OEM specifications, the old arm had worn bushings that caused the suspension to sag. The previous alignment was likely adjusted to compensate for that wear. Installing a tight, new arm throws those old adjustments out of specification. Failing to align the vehicle leads to rapid, uneven tire tread wear, often destroying a new set of tires in a few thousand miles.
An alignment restores camber, caster, and toe specifications. It ensures the vehicle tracks straight down the road without pulling to the left or right. It also calibrates the steering angle sensor on modern vehicles equipped with electronic stability control. Always include the alignment process when planning your suspension repair schedule.
Genuine OEM parts offer guaranteed fitment right out of the box. They feature the factory-correct bushing durometer, which is the measure of the rubber's hardness. This maintains the original ride comfort and noise isolation. You receive predictable longevity and performance because the part underwent rigorous factory testing. The primary drawback is availability. Depending on your region, sourcing genuine parts may involve supply chain delays or waiting for international shipping.
Aftermarket alternatives provide immediate availability. Tier-1 brands manufacture parts that meet or exceed OEM specifications, often supplying the automakers directly. Some premium aftermarket options offer greaseable ball joints, allowing you to flush out old grease and extend the service life of the joint. Avoid bottom-tier economy parts found on discount websites. They risk accelerated wear, poor casting quality, and premature failure. Stiffer aftermarket polyurethane bushings may also transfer more harsh road noise and vibration into the cabin.
| Part Category | Advantages | Disadvantages |
|---|---|---|
| Genuine OEM | Exact fitment, factory ride quality, reliable lifespan. | Potential supply chain delays, limited local stock. |
| Tier-1 Aftermarket | High availability, meets/exceeds specs, greaseable joints. | Requires research to verify brand reputation. |
| Economy Aftermarket | Immediate availability, low barrier to entry. | Inferior rubber quality, high risk of premature failure. |
Improper installation destroys new control arms quickly. The most common error occurs on the vehicle lift. Technicians sometimes tighten the control arm mounting bolts to their final torque specification while the suspension hangs freely in the air. This locks the inner metal sleeve of the rubber bushing in a drooped position.
When the vehicle is lowered to the ground, the suspension compresses to its normal ride height. Because the inner sleeve is locked, the rubber bushing twists violently to accommodate the movement. This is called bushing pre-load. Pre-loaded bushings will tear apart within a few thousand miles. You must torque the hardware only when the suspension is under its natural resting load. Lower the vehicle onto its wheels, or use a tall jack stand to support the lower ball joint and compress the suspension until the chassis lifts slightly off the lift arm. Only then should you apply the torque wrench.
Suspension components wear symmetrically. If the left control arm fails due to mileage and age, the right arm has experienced the exact same number of cycles and environmental exposure. It is likely near the end of its lifespan. Replacing them in pairs is standard engineering practice. It ensures balanced handling and predictable braking dynamics.
Replacing both sides simultaneously also optimizes labor efficiency. You only pay for one post-installation alignment. If you replace the left side today, align it, and the right side fails three months later, you will have to pay for a second alignment. Addressing the entire axle prevents redundant shop visits and provides peace of mind.
Suspension hardware is constantly exposed to road salt, water, and extreme temperature fluctuations. Eccentric alignment bolts in the rear multi-link setup and ball joint pinch bolts in the front frequently seize inside their metal sleeves. Attempting to remove rusted hardware with an impact wrench can strip threads or snap bolt heads off entirely. This halts the installation process immediately and requires drilling or cutting.
Anticipate seized hardware during the repair. Budget for replacement hardware kits in advance. Having fresh eccentric bolts, washers, and lock nuts on hand prevents frustrating delays. Apply a high-quality anti-seize compound to the non-threaded shanks of the bolts during reassembly. Do not apply anti-seize to the threads, as this alters the torque value. Lubricating the shank prevents the bolt from rusting to the inner bushing sleeve, facilitating much easier future maintenance.
Selecting the right suspension components requires careful evaluation of your vehicle's specific needs. You must balance upfront part quality against long-term labor and alignment requirements. A proper repair restores safety, steering precision, and drivability. Follow these actionable steps to ensure a successful replacement:
A: Total replacement costs generally range from $350 to $1,000 per side. This includes the part itself, 1 to 3 hours of professional labor, and the mandatory post-installation four-wheel alignment.
A: Squeaking is typically a sign of dry, cracked, or failing rubber control arm bushings. As the suspension compresses, the degraded rubber rubs against its metal housing, creating a high-pitched noise.
A: Driving with minor bushing wear is possible but causes poor handling and tire wear. However, a failing ball joint poses an immediate safety risk. It can lead to catastrophic suspension collapse and loss of steering control.
A: Yes. Replacing structural suspension components alters your wheel geometry. A four-wheel alignment is mandatory to restore proper camber, caster, and toe specifications, preventing rapid tire degradation.
A: Yes. Suspension parts experience symmetrical wear. Replacing both sides ensures balanced handling and saves money, as you only need to perform one alignment for the entire axle.
A: A standard replacement requires 1 to 3 hours of labor per side, depending on suspension complexity and rusted hardware. Add an additional hour for the mandatory wheel alignment.
A: Lower control arms connect the bottom of the steering knuckle to the frame, common in MacPherson struts. Upper control arms connect the top of the knuckle, utilized primarily in complex multi-link setups found on premium Chery SUVs.


